How bad do you want to reach your goal? Bad enough to it write down and place it where you’ll see it day and night? Bad enough to work towards it’s attainment every week, regardless of whether you’re sick, tired or injured? If so, I can almost guarantee it’s going to happen.
GOAL MAPPING
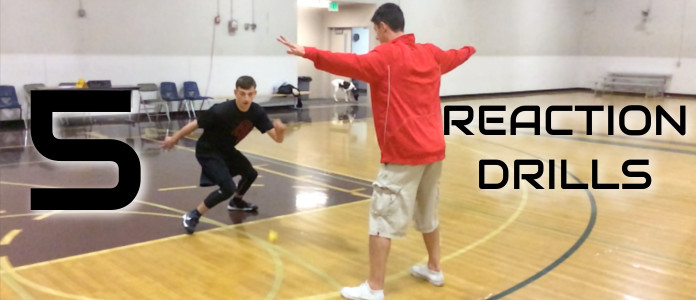
Here’s my three-step process for creating and tracking your path to success. It involves goal mapping and reading an Affirmation every day. I not only use it with my players, but my kids and I also have Goal Maps hanging in our rooms. It might seem a little crazy, but it works!
STEP 1: TEST
When you’re following a map, it’s important to know your starting point. If you want to dunk a basketball, you need to know how high you can touch. If you want to improve your free throws, you have to know your current shooting percentage.
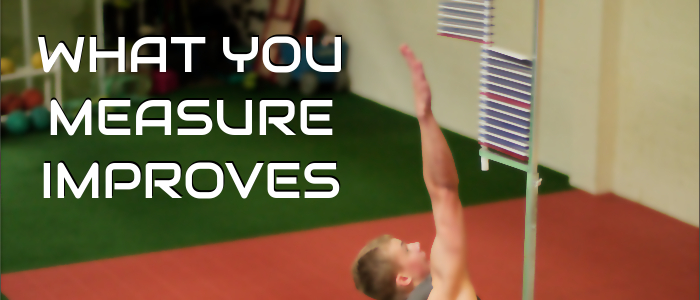
Do some research and select a test that will measure what you want to improve. Then test yourself so you can find out your starting point for Goal Mapping. My son Carter tests his vertical every month on a Vertec and we post the results on his bedroom wall.
STEP 2: CREATE
Now that you know where you’re starting from, you can create the path to where you want to go. I suggest Goal Mapping to track your monthly progress and writing an Affirmation to read every morning and night.
Here’s a picture of my son Carter’s Goal Map that hangs on the wall in his room. You can change the measurements and timeline to match your goal.

Click the link to download a Goal Mapping pdf:
In addition to goal mapping, you need to write an Affirmation Statement that will move your goal from your conscious brain to your subconscious mind.
Words are powerful and what you repeatedly say to yourself creates your reality. Make sure you’re building yourself up and reinforcing a positive attitude.
Here’s a sample Affirmation that I use with my players who want to dunk. You can change the highlighted areas to match your goal.
AFFIRMATION
“By November 15, 2016, I will dunk on a 10-foot hoop. To accomplish this goal, I will do my jumping program every week.
I believe with all my heart that I will dunk a basketball. My faith is so strong that I can already feel the ball in the net with my hands on the rim.
I have a written training plan to increase my vertical and will follow it every week until I’m playing above the rim.”
Write your Affirmation with a pen and paper and post it above your Goal Map. Read the Affirmation while you’re brushing your teeth in the morning and before you go to bed.
STEP 3: WORK
Dreams only come true when you wake up and go to work. Follow your written plan every week and then test yourself at the end of the month to track your progress.
Depending on your goal, you might not see improvements every month. Expect that this will happen and continue to track your progress. Remember, what you measure improves!
You build self-confidence by continually setting goals and accomplishing them. It’s the kind of unshakable confidence that can only be earned through hard work.
Good luck with your Goal Mapping and Affirmations. I’d love to see them when you’re finished. Take a picture, post it on Instagram or Facebook and tag me so I can see the finished product.